React.js Tutorial for Beginners: A Step-by-Step Guide to Getting Started
In 2026, React.js remains the gold standard for building dynamic, modern user interfaces. Developed by Meta, this JavaScript library allows developers to create reusable UI components that make web development faster and more efficient. If you are ready to transition from basic HTML/CSS to high-performance web apps, this React js tutorial for beginners is your roadmap.
Step 1: Set Up the Development Environment
Before you can start building, you must prepare your local machine.
-
Install Node.js: React requires Node.js to manage its dependencies. Always download the LTS (Long Term Support) version from the official Node.js website.
-
Verify Installation: Open your terminal or command prompt and run:
node -v -
Verify npm: npm (Node Package Manager) is used to install React libraries. Verify it with:
npm -v
Step 2: Create a New React Project
While there are many modern ways to build React apps, such as Vite or Next.js, Create React App (CRA) remains a popular choice for absolute beginners to understand the standard structure.
-
Open your terminal.
-
Create a folder:
mkdir my-react-app && cd my-react-app -
Generate the project:
npx create-react-app . -
Once complete, enter the directory:
cd my-react-app
Step 3: Run the React Development Server
To see your code come to life, you need to start a local server.
-
Run the command:
npm start -
Open your browser to
http://localhost:3000. You will see the spinning React logo—this means you are officially a React developer!
Step 4: Explore the Project Structure
Understanding where your files live is crucial for maintaining large projects.
-
src folder: The heart of your app. This is where 90% of your work happens.
-
src/index.js: The entry point where React “attaches” to your HTML.
-
src/App.js: The main component that holds your layout.
-
public folder: Stores static assets like your
index.htmland site icons.
Step 5: Modify the App Component
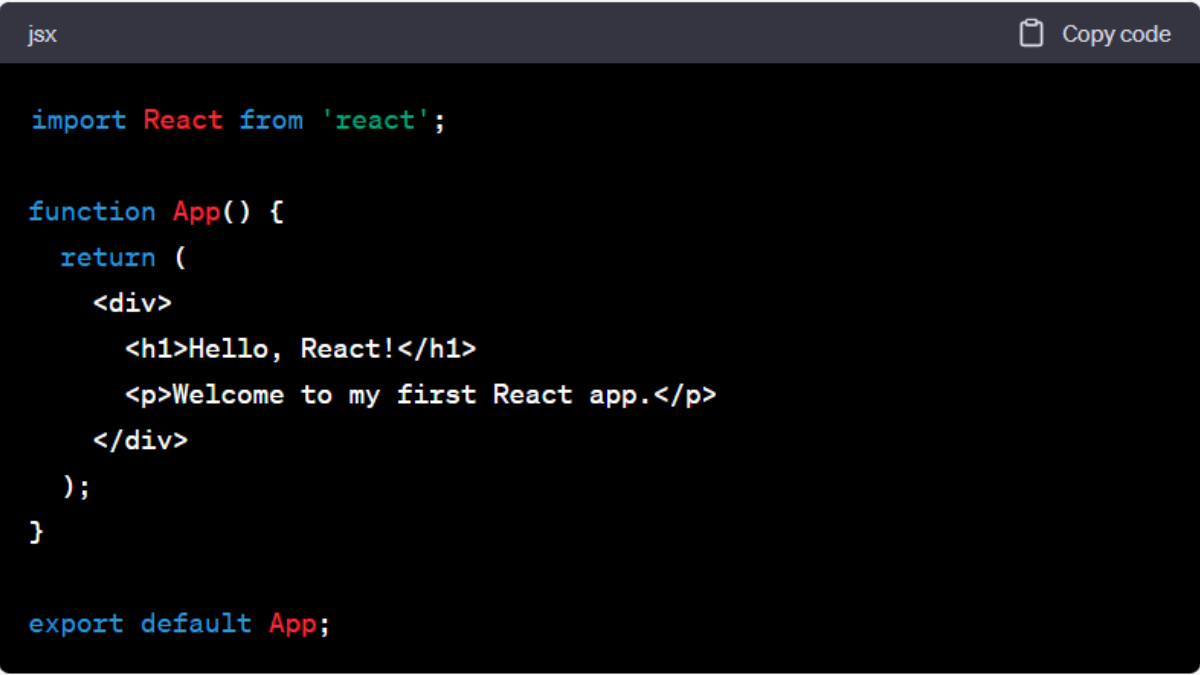
React uses JSX (JavaScript XML), which allows you to write HTML-like code inside JavaScript. Open src/App.js and replace the code inside the return statement with:
function App() {
  return (
    <div className="App">
      <h1>Welcome to my First React App!</h1>
      <p>I am learning React step-by-step.</p>
    </div>
  );
}
Step 6: Create Your First Custom Component
Components are the building blocks of React. Let’s create a greeting:
-
In the
srcfolder, createGreeting.js. -
Add this code:
function Greeting() {
  return <h2>Hello! Thanks for visiting my React tutorial.</h2>;
}
export default Greeting;
-
Import it into
App.js:import Greeting from './Greeting'; -
Use it like an HTML tag:
<Greeting/>
